Size of the map
In Oblivion the map is divided in to quadrants, “quads”. One quad is 1024 x 1024 pix when making a height map. One quad is made up by 32 x32 cells, each 58.5 x 58.5m in the game, that’s over 1 800 x1 800 km in game for one quad. The original Oblivion game is made up of about 4 x 4 quads. I have read that 4 x 4 quads is the max size that the CS can load, due to the 2G RAM limit the program has. For me 4 x 4 quads are not big enough. I have also read that there is possible to make bigger maps, both at TESAnnwyn site and at the at the Middle earth forum. Some have made 8x8, 16x16 and even up to 20x20 quad maps. This requires some workarounds, because I can’t open an .esp with a map bigger than 4 x 4 quads as an active file without the CS crashing, sometimes so bad that I have restart the computer.
In the CS a file can be opened as an active or inactive file. The CS can open both esp and master esm file, but it can only save esp files. Opening a file as inactive can be good for some things but a problem is saving. The inactive file will only be saves as a new esp file, and this will only have the changes done to the file, not any other information from the original file. This is the same thing that happens when trying to save an esm file.
When working with really big maps like a 16x16 quad map, this can be opened as inactive without crashing the CS, but the saved changes will be in a separate file as I mentioned before. There is a tool that will solve the problems this introduces. TESGecko can convert between esp and esm and can also merge esp to esm. With this handy tool I can make a big 16x16quad map, in TESAnnwyn, covert it to a esm in TES Gecko, open it in the CS an, make changes like add things and so on, save as a new esp that I then merge with the original esm file and the changes will show in the game.
The map
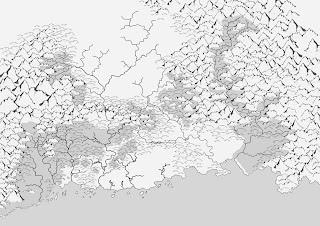
The map I had worked on for my role-playing game was made as an old fashion map. From this I had also made a crude height map with different grayscale colors for the hills and mountains. What was needed now was an image with more detailed height information. I painted with a different grayscale color, so all the height information is in different layers, this making it easy to make changes. Now I can use the research I did on % gray corresponding to what height in m. The world I have planed is huge so drawing the map took several months. This is a part of the map in layers.
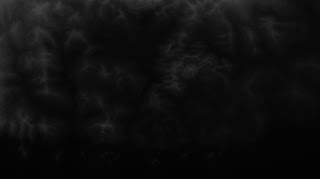
Every % grayscale step equals to 75m height change in the game, which will look really crappy. To even out the edges I first had to merge the layers and then I used a mixer brush tool in PS. This tool blends the two colors togetter, making the edge fussier.
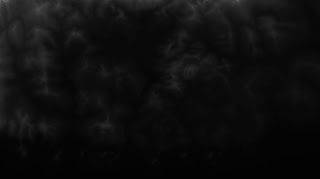
Introducing realistic erosion in the map
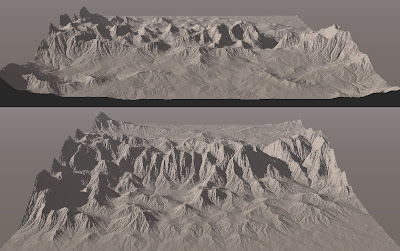
There are several height map editors with erosion functions, among them the CS. I have tried GeoControl2. They have a free full trial version for 30 days. GeoControl2 can generate random maps, but it can also import images, like a 16-bit tif. The max image size is 4096 x 4096 pix. GeoControl will also show a 3D rendering of the map, great to get a good visual of the terrain. First we have the layered map vs the fussed out edge map. Both looks kind of bad, but no fear, that’s what GeoControl is for.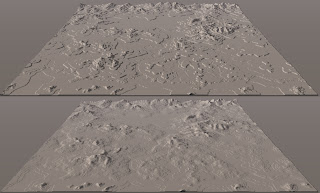
A problem is the fact I only have a gray color range between 100-75% gray. In GC this looks kind of flat. I need a full range (ca 100-0%) for the functions of GC to work well.
GeoControl2 has a lot of functions that I haven’t learned get. I’m mostly interested in the possibility to introduce realistic erosion. Some testing of the functions are in order :) I used the test hill I made earlier and run it with the different settings. The hill is perhaps not the best starting object to test for all the settings, but it gives a general idée of what happens.
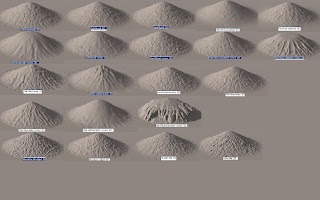
I liked the mountain ridge, thin flow deep inverse, thin flow sharp and thin flow deep, so I used these on my map.
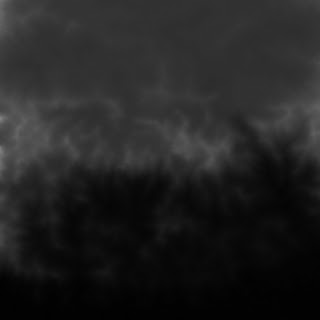
Looks a lot better now :)
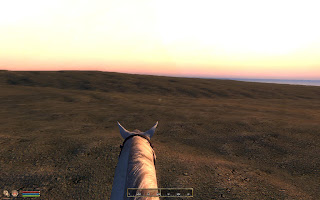
Now I want to test out my map in game, the 4096x4096 image was saved as a tif in GeoControl, and then resaved as a RAW in PS. One thing I have not said before, the TESAnnwyn will flip the image vertically, so to get the right north in game I have flipped the image vertically first in PS, and then the TESAnnwyn will flip it back. On the construction set wiki, in the WORLD building 101 tutorial, at the end there is a good method for setting up a new start place for a player that is not in the original game. To use the new esp in game, when starting Oblivion chose DATA, then mark the esp/esm files to start, then start the game. This is an image from a terrain made from my map to a 4x4 quad terrain (image map size 4096x4096). The terrain looks nice but there is no distant terrain showing. These are called LOD, and must first be generated.
/E

No comments:
Post a Comment