Original posted July 8 2017
In the guide below i will go through the steps on how to add a new creature, I’m using a sheep as an example. At first the order things are added seemed backwards and circular, but as far as I can figure out this is how it’s done, and seems to work.
A special thanks to Awake Night for the video on how to create unique animals, without that I would probably not have figured this out.
Before I started adding the first new animals to Hoddminir I had to map out all the different elements that are part of a creature and try to figure out how they were connected. As you can see in the diagram below there are so many parts that make up a creature, but most of the things are not anything we need to change or add.

All the elements that make up a creature
We will need a model and textures, and the main things that make up a creature will have to be added in the Creation Kit, like Race, NakedAnimal, SkinAnimal and EncActor. Unique Death Items and new sounds for the new creature can also be added, but I have not tried this yet.
If you are adding a completely new animal, like the sheep, it’s important to consider which skeleton, movement and behavior that would fit the best for this animal. Most creature modelers have explained what will work best for their new creature. For this example the goat will work well as a template for the sheep.
First off, you will need a model and textures. For the sheep I used Sheep Modders Resource by Stormshallow and made my own texture variant.
Adding a new creature
1. Add model and textures:
To start, add the Nif model to the right folders, under Data\Meshes\Actors\AnimalType\Character Assets\. and the textures to the folder, under Data\Textures\Actors\AnimalType\.
 The
re-textured
sheep
in
NifSkope
The
re-textured
sheep
in
NifSkopeIn the Creation kit
2. Create a new Race(Character/Race):
Open a similar animal, in this case a goat. Rename the ID to SheepRace and under the Text Data tab change the Name to Sheep. Close window and answer Yes to create a new form.
 New
SheepRace
New
SheepRace3. Create a new NakedAnimal (Items/ArmorAddon):
Open the NakedGoatAA, rename the ID to NakedSheepAA, set Race to SheepRace. Select a new model under Biped Model.
 New
NakedSheep
New
NakedSheepIn the Model Data window, press Edit, and select your new model. (If there are different models for male and female animals also change the female Biped Model.)
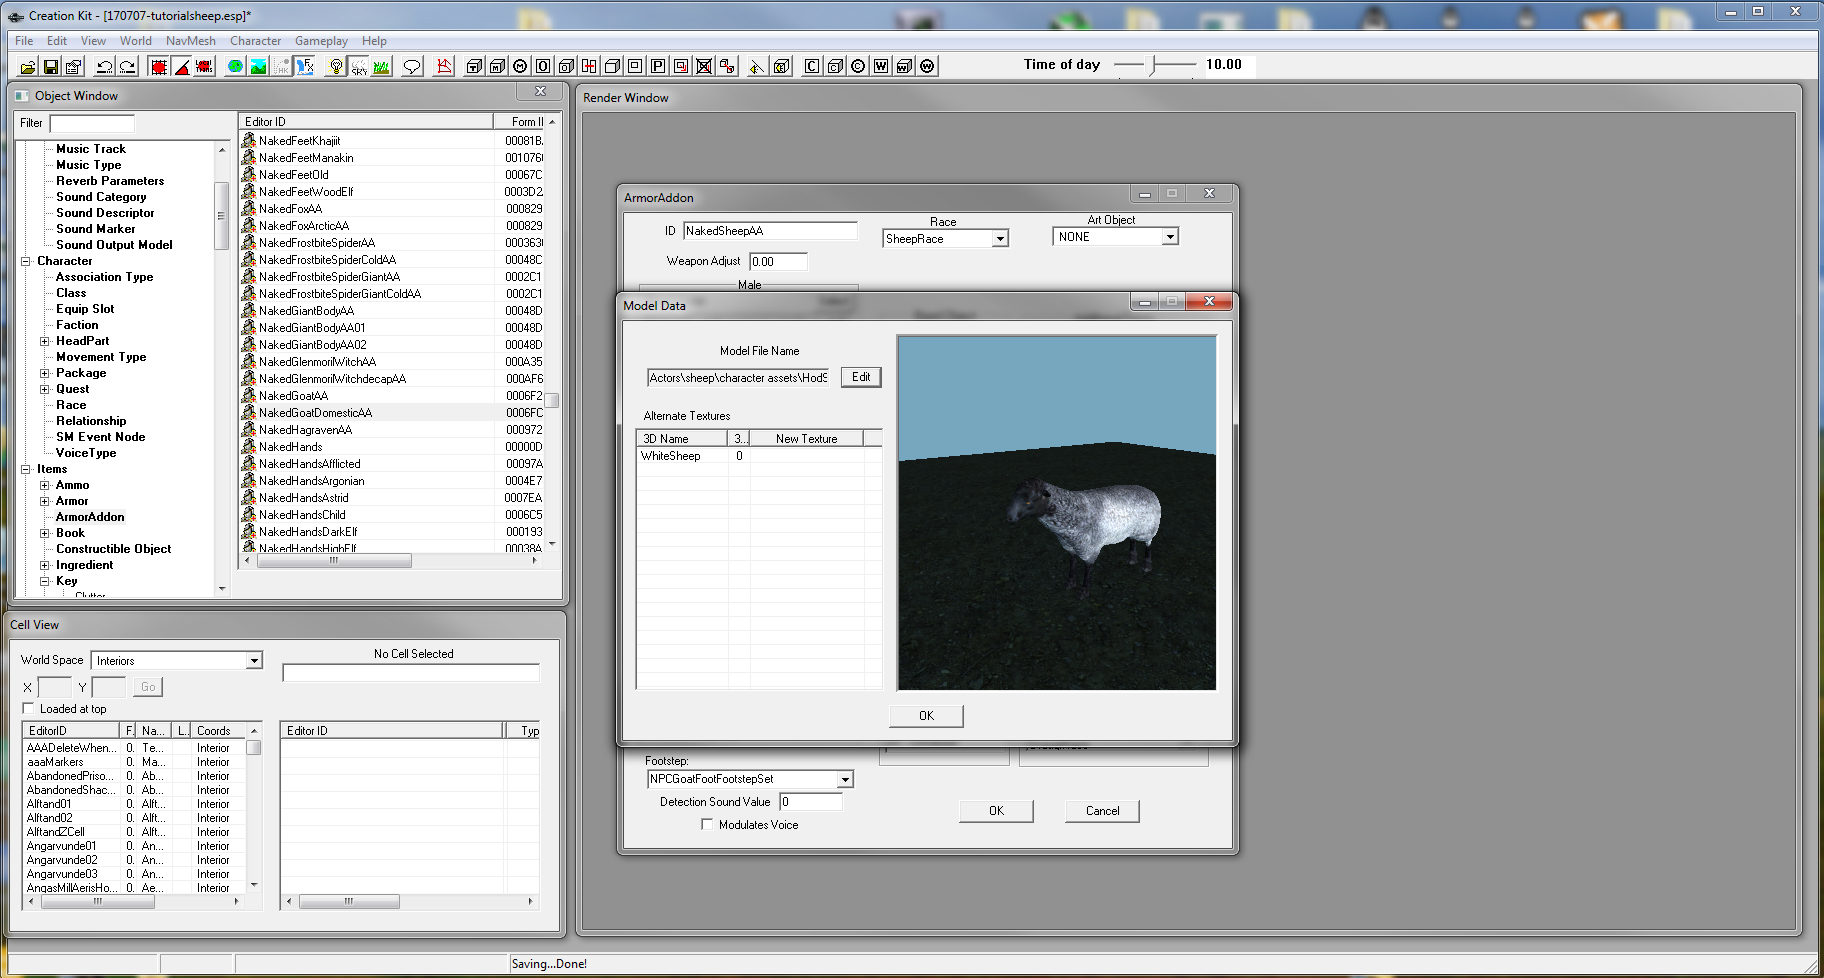 Select
model
of
the
sheep
Select
model
of
the
sheepClose window and answer Yes to create a new form.
4. Create a new SkinAnimal (Items/Armor):
Open the SkinGoat, rename the ID to SkinSheep, change Name to Sheep, set Race to SheepRace. In the list Models, right click in the list window and select New.
 New
SkinSheep
New
SkinSheepSelect NakedSheepAA from the list in the new popup window.
 Select
NakedSheepAA
Select
NakedSheepAAClose window and answer Yes to create a new form.
5. Skin the Race (Character/Race):
Now go back to the SheepRace to add the right skin, under the Body Data tab set Skin to SkinSheep. Keep the Skeleton, Behavior Voice, and BodyPartData of the goat.
 The
right
skin
on
the
sheep
The
right
skin
on
the
sheep6.Create a new EncAnimal (Actor/Actor):
Open the EncGoat. Under theTraits tab rename ID to EncSheep, change Name to Sheep and Set Race to SheepRace.

Under theStats tab you can change things like Enc class, Level and Health as you see fit. Close window and answer Yes to create a new form.

Now you have a new creature you can add to your world

There are more things you can also do, like add unique Death Items that match your new creature and add more texture variants using new Texture Sets.
/Elinen